kaeser sx-6 1ph manual
The Kaeser SX-6 1PH compressor is a high-efficiency rotary screw compressor designed for smaller compressed air systems, offering reliable performance and energy-saving operation for industrial applications.
1.1 Overview of the Kaeser SX-6 1PH Model
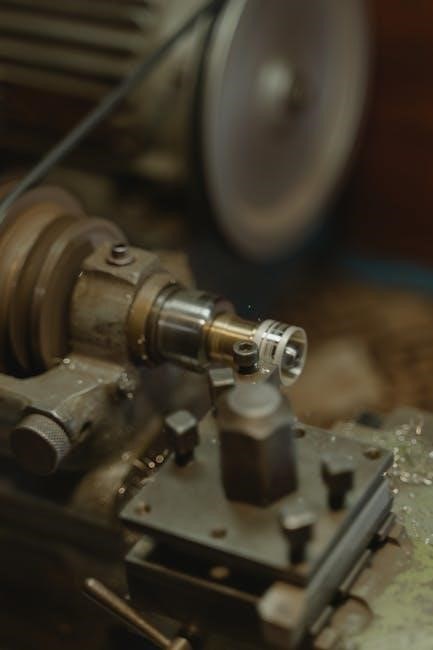
The Kaeser SX-6 1PH is a compact, energy-efficient rotary screw compressor designed for smaller industrial and commercial applications. It belongs to the SX series, known for reliability and performance in compressed air systems. This model is ideal for applications requiring consistent airflow and pressure, making it a versatile solution for workshops, small factories, and other settings with moderate air demands. Its robust design ensures long-lasting operation and minimal maintenance needs.
1.2 Key Features and Benefits
The Kaeser SX-6 1PH compressor features a compact design, low noise operation, and high efficiency. It includes advanced lubrication systems, durable components, and user-friendly controls. The compressor offers consistent airflow, reduced energy consumption, and minimal maintenance requirements. These features make it an ideal choice for small to medium-sized operations seeking reliable compressed air solutions while optimizing energy costs and operational efficiency.

Safety Precautions and Guidelines
Always wear protective gear, ensure proper ventilation, and follow manual instructions to avoid accidents. Be aware of potential hazards like high pressure and moving parts during operation.
2.1 General Safety Information
Safety is critical when operating the Kaeser SX-6 1PH compressor. Always wear protective gear, including safety glasses and gloves, and ensure the area is well-ventilated. Read the manual thoroughly before use to understand operational risks. Avoid unauthorized modifications and never bypass safety features. Keep loose clothing and long hair tied back to prevent entanglement. Store lubricants in a cool, dry place away from ignition sources. Follow all guidelines to prevent accidents and ensure safe operation.
2.2 Handling and Storage Precautions
- Handle the compressor with care to avoid damage during transportation or installation.
- Store the unit in a dry, cool, well-ventilated area away from direct sunlight and moisture.
- Keep lubricants in their original containers, protected from contamination and ignition sources.
- Avoid exposing the compressor to extreme temperatures or physical stress.
- Ensure the compressor is securely fastened during transport to prevent shifting or damage.
2.3 Emergency Procedures
- In case of an emergency, immediately shut off the power supply using the emergency stop button.
- Isolate the compressor from the air supply and release stored pressure gradually.
- Evacuate the area if there is a risk of gas leakage or oil spillage.
- Contact Kaeser customer support or authorized service personnel for assistance.
- Do not attempt to repair the compressor yourself; only trained professionals should handle malfunctions.

Installation and Setup
The Kaeser SX-6 1PH compressor requires careful unpacking, placement on a level surface, and proper installation following the provided guidelines to ensure optimal performance and safety.
3.1 Unpacking and Preparation
Begin by carefully unpacking the Kaeser SX-6 1PH compressor, ensuring all components are included and undamaged. Inspect for any shipping-related damage and verify the integrity of the packaging. Before starting the installation, refer to the provided manual for specific preparation steps, such as cleaning the area and preparing the floor for proper leveling. Ensure all necessary tools and accessories are readily available to streamline the setup process.
3.2 Mounting and Leveling the Compressor
Mount the Kaeser SX-6 1PH compressor on a sturdy, vibration-resistant surface. Use the provided mounting hardware to secure the unit firmly. Ensure the compressor is perfectly level using a spirit level; any imbalance can affect performance and longevity. Tighten all bolts gradually to avoid uneven stress. Refer to the manual for specific torque specifications and alignment guidelines to ensure proper installation and optimal operation of the compressor.
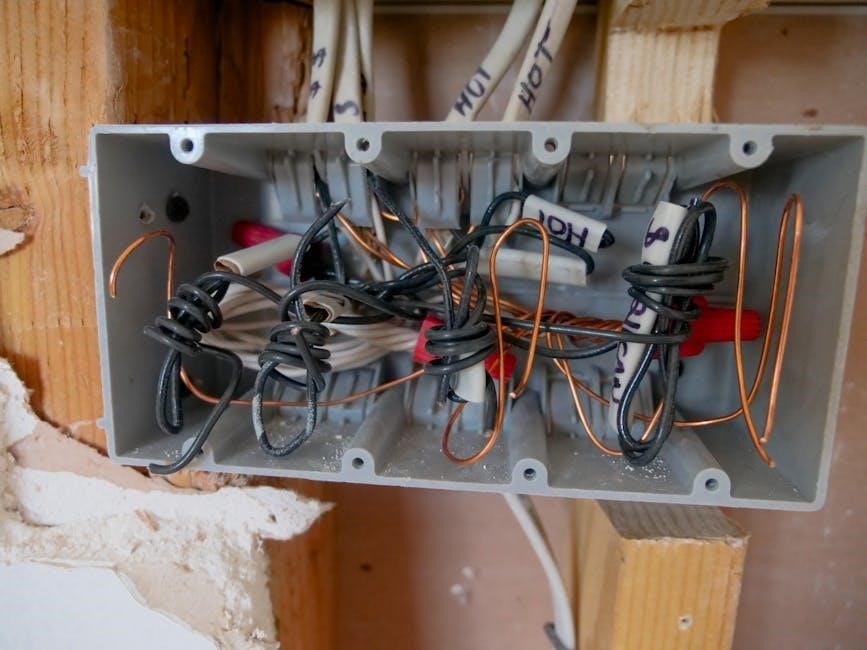
3.3 Connecting Electrical and Pneumatic Components
Connect the electrical components according to the manual, ensuring the power supply matches the compressor’s voltage and frequency ratings. Use appropriately sized wiring and adhere to local electrical codes. For pneumatic connections, attach the air intake and discharge hoses securely, ensuring compatibility with pressure ratings. Tighten all fittings properly to prevent leaks. Connect the drain valve and ensure the system is sealed. Always turn off power before starting connections and test the system at low pressure initially.

Operating the Kaeser SX-6 1PH
Power up the compressor, check the control panel for proper startup, and monitor pressure levels. Adjust settings as needed and ensure all safety guidelines are followed during operation.
4.1 Starting and Stopping the Compressor
Before starting, ensure all controls are in the correct position and the system is depressurized. Switch the power on, allowing the motor to start gradually. Monitor the pressure gauge to ensure it operates within the set range. To stop, close the shut-off valve slowly to release pressure, then turn off the power. Always follow proper shutdown procedures to maintain safety and prevent damage to the unit.
4.2 Adjusting Operating Parameters
The Kaeser SX-6 1PH compressor allows for precise adjustment of operating parameters, including pressure settings and motor speed, to optimize performance for specific applications. Use the control panel to access and modify these settings, ensuring they align with your system requirements. Always refer to the manual for guidance on adjusting parameters safely and effectively to maintain efficiency and prevent overload.
4.3 Monitoring Performance and Pressure
Regularly monitor the compressor’s performance and pressure levels to ensure optimal operation. Check the pressure gauges for proper settings and observe the system’s performance metrics. Adjust settings as needed to maintain desired output and efficiency. Refer to the manual for specific guidelines on monitoring and interpreting performance data to ensure reliable and consistent compressed air supply for your applications.
Maintenance and Service
Regular maintenance ensures optimal performance and longevity. Schedule routine inspections, clean components, and replace worn parts as needed to maintain efficiency and reliability.

5.1 Daily Maintenance Checks
Daily inspections are crucial for maintaining compressor efficiency. Check oil levels, filter condition, and belt wear. Ensure all connections are tight and inspect for leaks or unusual noises. Verify proper ventilation and clean the air intake to prevent contamination. Monitor temperature levels and pressure gauges for anomalies; Record findings for future reference and address any issues promptly to prevent downtime and ensure reliable operation.
5.2 Lubricant and Filter Replacement
Regular lubricant and filter changes are essential for optimal performance. Replace the lubricant every 1,000 to 2,000 operating hours, using only genuine Kaeser synthetic oil to maintain efficiency. Air and oil filters should be replaced every 1,000 to 2,000 hours to ensure clean air intake and proper lubrication. Always follow the manufacturer’s guidelines for compatible parts and disposal methods to maintain compressor health and performance, and prevent contamination or damage to internal components.
5.3 Troubleshooting Common Issues
Common issues with the Kaeser SX-6 1PH include pressure drops, unusual noises, or oil contamination. Check air filters for blockages and ensure proper lubricant levels. Inspect belts for wear and alignment issues. Consult the service manual for diagnostic procedures and repair guidelines. Addressing these issues promptly prevents downtime and extends compressor lifespan. Always refer to genuine Kaeser parts and guidelines for reliable solutions. Contact customer support for persistent problems or complex repairs.

Technical Specifications
The Kaeser SX-6 1PH offers reliable performance with a 1.5 kW motor, delivering up to 0.29 m³/min at 10 bar. Its compact design suits small facilities.
6.1 Performance Data and Ratings
The Kaeser SX-6 1PH compressor delivers exceptional performance with a 1.5 kW motor, producing up to 0.29 m³/min at 10 bar pressure. It operates at 1450 RPM, ensuring efficient airflow for industrial applications, while maintaining low energy consumption and consistent output. The compressor is designed to meet demanding operational needs, providing reliable service in various environments. Its performance ratings make it an ideal choice for small to medium-sized compressed air systems, ensuring optimal productivity and efficiency.
6.2 Dimensional and Weight Information
The Kaeser SX-6 1PH compressor features a compact design with dimensions of 600 mm x 400 mm x 500 mm, weighing approximately 65 kg. Its lightweight and space-saving footprint make it ideal for installation in small workshops or industrial settings. The unit is built with a durable steel frame, ensuring stability and long-lasting performance. Mounting options are flexible, allowing easy integration into existing compressed air systems, while maintaining accessibility for maintenance and service;
6.3 Compatibility with Accessories
The Kaeser SX-6 1PH compressor is compatible with a range of accessories, including high-efficiency filters, air dryers, and condensate management systems. These components ensure optimal performance and air quality. The compressor can also integrate with energy-saving controllers, such as the Kaeser Sigma Control, to enhance operational efficiency. Additional accessories like remote monitoring systems and maintenance kits are available, providing flexibility and customization for specific industrial applications.

Parts and Accessories
Kaeser offers genuine parts and accessories for the SX-6 1PH, ensuring compatibility and optimal performance. These include filters, lubricants, and air treatment systems tailored for durability and efficiency.
7.1 Genuine Kaeser Parts and Compatibility
Genuine Kaeser parts are specifically designed for the SX-6 1PH compressor, ensuring optimal performance and longevity. These components are manufactured to meet strict quality standards, guaranteeing seamless compatibility and reliability. Using authentic Kaeser parts prevents potential damage from non-original replacements, which may void warranties or compromise efficiency. Always refer to the official manual or consult Kaeser representatives for verified parts and accessories.
7.2 Recommended Tools for Maintenance
For routine maintenance of the Kaeser SX-6 1PH compressor, essential tools include screwdrivers, wrenches, and a multimeter for electrical checks. A filter wrench is necessary for replacing air and oil filters. Specialized tools, such as a pressure test kit, may be required for advanced diagnostics. Always ensure tools are compatible with the compressor’s specifications to avoid damage. Refer to the official manual or consult Kaeser support for a comprehensive list of recommended tools and resources.
7.3 Ordering and Replacing Parts
To ensure optimal performance, always use genuine Kaeser parts when replacing components. Order parts directly from authorized Kaeser dealers or through the official website. Reference the compressor’s serial number for accurate compatibility. Before replacing any part, consult the service manual for detailed procedures. Proper installation of genuine parts guarantees safety, efficiency, and compliance with warranty terms. Contact Kaeser customer service for assistance with part identification or ordering.

Warranty and Support
The Kaeser SX-6 1PH compressor is backed by a comprehensive warranty program, ensuring coverage for parts and labor. Dedicated customer support is available to address inquiries and provide assistance with maintenance, repairs, and troubleshooting. Contact Kaeser’s support team for details on warranty terms, service packages, and ensuring optimal performance throughout the compressor’s lifespan.
8.1 Warranty Terms and Conditions
The Kaeser SX-6 1PH compressor is covered by a comprehensive warranty program. The warranty period typically begins from the date of installation and covers parts and labor for defects in materials and workmanship. Proper installation by authorized personnel is required to maintain warranty validity. The warranty excludes damage caused by misuse, improper maintenance, or wear and tear. Registration of the product is necessary to activate the warranty. Kaeser provides detailed terms and conditions in the official service manual.
8.2 Contacting Kaeser Customer Service
Kaeser customer service is available to assist with inquiries, technical support, and service requests. You can contact them via phone at 419-352-0444 or email at mailrefmech.com. Their office is located at 19562 North Dixie Highway, Bowling Green, Ohio 43402. Support is available 24/7, ensuring prompt assistance for maintenance, repairs, or general questions. Visit their website for additional resources or to submit a service request. Registered products receive priority support.
8.3 Available Service Packages
Kaeser offers comprehensive service packages tailored to maintain optimal performance of the SX-6 1PH compressor. These packages include routine maintenance, priority support, and access to genuine parts. Customers can choose from basic to premium plans, ensuring extended equipment lifespan and reduced downtime. Service packages are designed to meet specific operational needs, providing cost-effective solutions for sustained efficiency and reliability. Each package is backed by Kaeser’s expertise and commitment to superior customer satisfaction.