Henry 430 ClearPro is a premium‚ clear thin-spread adhesive designed for installing vinyl composition tile (VCT) in both residential and commercial settings. Its 24-hour working time‚ excellent grab strength‚ and clear finish make it a professional favorite for achieving durable‚ long-lasting results.
Overview of Henry 430 ClearPro Adhesive
Henry 430 ClearPro is a premium‚ clear thin-spread adhesive specifically formulated for installing vinyl composition tile (VCT). It offers a 24-hour working time‚ allowing flexibility during installation. The adhesive dries clear‚ ensuring an invisible finish‚ and provides excellent initial grab and long-term bond strength. Designed for both residential and commercial use‚ it is ideal for achieving professional-grade results with minimal visibility of the adhesive after installation.
Importance of Proper Installation Techniques
Proper installation techniques are crucial for ensuring the durability and performance of the Henry 430 ClearPro adhesive. Incorrect application can lead to poor bond strength‚ uneven tile placement‚ and long-term flooring issues. Following the manufacturer’s instructions ensures a strong‚ lasting bond between the adhesive and VCT tiles‚ while also preventing common problems like trapped moisture or uneven adhesion. Proper techniques guarantee a professional-grade finish and extend the lifespan of the flooring system.

Key Features of Henry 430 VCT Adhesive
Henry 430 ClearPro offers a 24-hour working time‚ excellent initial grab‚ and a clear finish. Designed for VCT‚ it ensures strong bonding and professional results.
24-Hour Working Time
Henry 430 ClearPro offers an impressive 24-hour working time‚ providing flexibility for large-scale installations. This extended period allows professionals to apply and adjust tiles without rushing‚ ensuring precise placement and alignment. The long working time is particularly beneficial for commercial projects or when working in challenging environments. This feature enhances productivity and reduces the pressure of tight deadlines‚ making it a preferred choice for contractors and installers.
Excellent Initial Grab and Bond Strength
Henry 430 ClearPro delivers exceptional initial grab and bond strength‚ ensuring tiles adhere securely from the moment they are placed. This strong initial hold minimizes movement and shifting‚ reducing the need for adjustments. The adhesive’s ultimate bond strength is equally impressive‚ creating a durable‚ long-lasting connection between the tile and substrate. This reliability makes it ideal for high-traffic areas‚ both residential and commercial‚ where stability and endurance are essential.
Dries Clear for Invisible Finish
Henry 430 ClearPro is formulated to dry completely clear‚ ensuring an invisible finish that won’t interfere with the appearance of vinyl composition tiles. This feature is particularly beneficial for achieving a seamless‚ professional-looking floor. The clear drying property prevents any discoloration or residue‚ making it perfect for installations where aesthetics are a priority. This invisible finish complements the tile’s natural look‚ enhancing the overall visual appeal of the flooring.
Surface Preparation for VCT Installation
Ensure the substrate is sound‚ smooth‚ dry‚ and free of excessive moisture or alkali. Clean and properly condition the area to meet Henry 430 requirements for optimal adhesion and a successful installation;
Ensuring a Clean‚ Dry‚ and Smooth Substrate
Proper surface preparation is crucial for successful VCT installation. Ensure the substrate is clean‚ dry‚ and free of old adhesives‚ oils‚ or contaminants. Check for excessive moisture or alkali‚ as these can compromise adhesion. Use appropriate methods to address any imperfections‚ such as filling cracks or grinding uneven areas. A smooth‚ stable surface is essential for optimal bonding with Henry 430 adhesive and long-lasting results.
Checking for Excessive Moisture and Alkali
Before applying Henry 430 adhesive‚ ensure the substrate is free of excessive moisture and alkali. High moisture levels can trap water vapor‚ leading to adhesion issues‚ while alkalinity can weaken the bond. Use a moisture meter or pH test kit to verify conditions; If excessive moisture or high pH levels are present‚ address them with appropriate treatments‚ such as sealing or drying methods‚ to ensure a stable surface for installation.
Temperature Requirements for Installation
Ensure the installation area‚ adhesive‚ and flooring are conditioned at a minimum of 65°F (18°C) for 48 hours before‚ during‚ and after application. This temperature range ensures proper bonding and curing. Avoid installing in areas with extreme or fluctuating temperatures‚ as this may affect adhesive performance and curing time. Maintain stable environmental conditions to achieve optimal results and prevent installation issues.

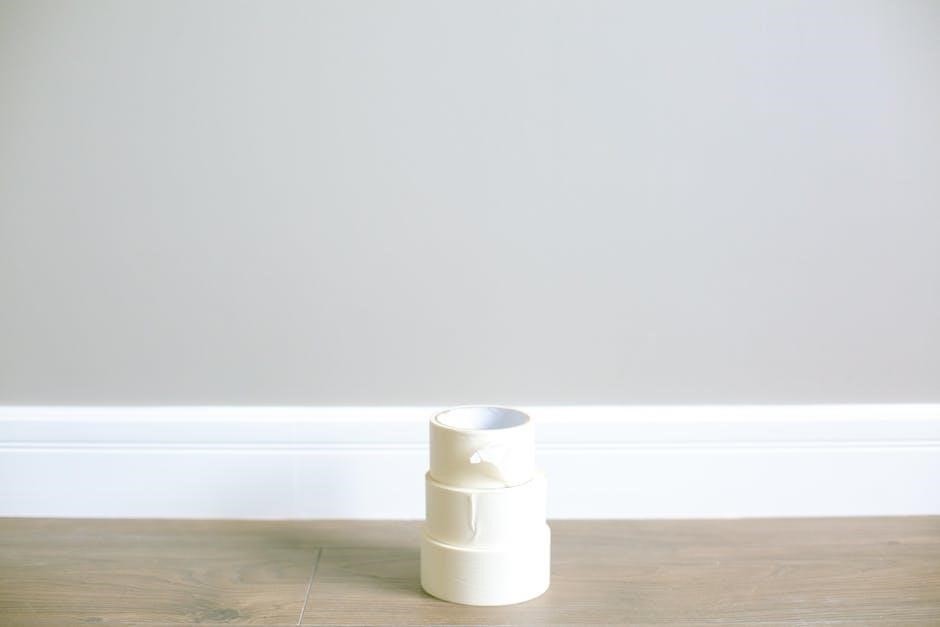
Application Instructions for Henry 430 Adhesive
Apply Henry 430 using a fine-notched trowel or brush for even coverage. Allow the adhesive to dry 30-45 minutes before tile placement‚ or up to 72 hours depending on conditions.
Recommended Notch Trowel for Even Coverage
For optimal results‚ use a notch trowel with a 1/32″ deep‚ 1/16″ wide‚ and 5/64″ angle. This ensures even adhesive spread and proper coverage. A U-notch trowel is ideal for extended coverage‚ while a finer notch is better for smaller areas. Always hold the trowel at a 45-degree angle to achieve uniform thickness and prevent excess adhesive buildup. This method guarantees a smooth‚ professional-grade application of Henry 430 adhesive.
Using a Fine-Notched Trowel or Brush
For precise application‚ a fine-notched trowel or brush is recommended. This ensures thin‚ even layers of Henry 430 adhesive‚ promoting strong bonding. Hold the trowel at a 45-degree angle‚ spreading adhesive uniformly across the substrate. Brushes are ideal for edges or small areas‚ ensuring complete coverage without excess. This method prevents unevenness and guarantees a professional finish‚ adhering to manufacturer guidelines for optimal results. Proper technique is key for a flawless installation.
Coverage Rates and Application Patterns
Henry 430 adhesive covers approximately 250-300 square feet per gallon‚ depending on the trowel notch size and application thickness. For optimal results‚ use a U-notched trowel (1/32″ deep‚ 1/16″ wide‚ 5/64″ angle) for extended coverage. Apply in a full-coverage pattern‚ ensuring even spread without gaps. Avoid over-spreading‚ as this can reduce adhesive strength. Proper application patterns ensure a strong bond and professional finish‚ following manufacturer recommendations for best outcomes.
Drying and Setting Time Guidelines
Henry 430 adhesive typically dries in 30-45 minutes to 1 hour‚ depending on temperature and humidity. Allow it to reach a tacky‚ non-transferable stage before placing tiles.
Allowing Adhesive to Dry Before Tile Placement
Allow Henry 430 adhesive to dry completely before placing tiles. The recommended drying time is 30-45 minutes‚ but this may extend up to 72 hours depending on environmental conditions. Ensure the adhesive reaches a tacky‚ non-transferable stage for optimal bonding. Avoid rushing this step‚ as improper drying can lead to weakened adhesion. Environmental factors like humidity and temperature significantly impact drying time‚ so monitor conditions closely for best results.
Factors Affecting Drying Time (Temperature‚ Humidity)
Temperature and humidity significantly influence the drying time of Henry 430 adhesive. Ideal conditions are 65°F (18°C) or higher‚ with low humidity. High humidity slows drying‚ while low humidity accelerates it. Ensure consistent environmental conditions to maintain the adhesive’s performance and bonding strength. Temperature fluctuations can delay achieving the tacky stage‚ so monitor the environment closely during application and drying phases for optimal results.
Identifying the Tacky‚ Non-Transferable Stage
The adhesive reaches a tacky‚ non-transferable stage when it no longer transfers to your finger upon light contact. Test by gently touching the surface; it should feel sticky but not wet. This stage is critical for tile placement‚ ensuring proper adhesion without shifting. Allow the adhesive to reach this point before installing VCT tiles for a secure bond and professional finish.
Installing VCT Tile with Henry 430 Adhesive
After preparing the adhesive‚ place tiles firmly into position‚ ensuring proper alignment. Use a roller to press tiles securely‚ guaranteeing strong adhesion and a professional finish.
Placing Tiles Correctly After Adhesive Preparation
Once the adhesive reaches a tacky‚ non-transferable stage‚ carefully place the VCT tiles‚ pressing them firmly into position. Ensure proper alignment with surrounding tiles and apply even pressure using a roller or similar tool for optimal adhesion. Avoid moving tiles once placed‚ as this can disrupt the bond. Allow the installation to set undisturbed for 24–48 hours before exposing it to foot traffic or heavy use.
Aligning and Securing Tiles Properly
Start by aligning the first tile in the center of the room‚ using chalk lines or a laser guide for accuracy. Place subsequent tiles symmetrically‚ ensuring straight lines and proper spacing. Press each tile firmly into the adhesive‚ using a hand roller or knee roller to secure it. Check alignment regularly and make adjustments before the adhesive sets. Proper alignment prevents unevenness and ensures a professional-looking finish.
Rolling Tiles for Proper Adhesion
After placing each tile‚ use a heavy-duty roller to apply moderate pressure‚ ensuring full contact with the adhesive. Work in sections‚ rolling in multiple directions to eliminate air pockets. This step is critical for achieving a strong‚ lasting bond between the tile and substrate. Proper rolling ensures the adhesive spreads evenly‚ preventing bubbles and securing the tile firmly in place for a durable‚ professional finish.

Post-Installation Care and Maintenance
Clean spills immediately with soapy water. Avoid harsh chemicals and protect the floor from heavy traffic during curing. Regular maintenance ensures longevity and preserves appearance.
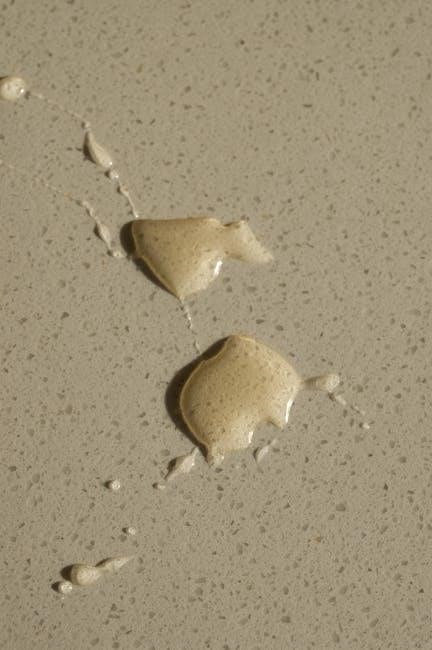
Cleaning Up Spills and Excess Adhesive
For wet adhesive‚ use a clean‚ white cloth dampened with soapy water to wipe up spills immediately. For dried adhesive‚ dampen the cloth with mineral spirits‚ following container warnings. Clean tools and surfaces promptly to prevent bonding. Regularly inspect and remove excess adhesive to maintain a smooth finish. Immediate cleanup ensures easier removal and prevents damage to tools or surfaces. Always follow safety guidelines when handling cleaning agents.
Protecting the Floor During Curing
To protect the floor during curing‚ keep it traffic-free for 24-48 hours. Use protective coverings or cones to prevent damage. Maintain a temperature range of 65-75°F and humidity below 60%. Avoid heavy foot traffic and use non-marking walk pads if access is necessary. Keep the area clean and avoid using cleaning products. This ensures proper adhesion and a durable finish.
Maintenance Tips for Long-Lasting Results
Regular maintenance ensures the longevity of your VCT floor. Sweep or vacuum daily to remove dirt and debris. Clean with a neutral pH detergent and warm water‚ avoiding harsh chemicals. Avoid excessive water‚ as it can weaken the adhesive bond. Maintain consistent room temperature and humidity levels. For high-traffic areas‚ apply a clear acrylic sealer annually. Trim edges and replace worn tiles promptly to prevent further damage and ensure a polished appearance.
Troubleshooting Common Issues
Common issues with Henry 430 include adhesive transfer‚ lack of bond‚ and bubbles. Ensure proper surface preparation‚ verify adhesive drying time‚ and avoid over-application for optimal results.
Addressing Adhesive Transfer or Lack of Bond
Adhesive transfer or lack of bond can occur due to improper surface preparation or insufficient drying time. Ensure the substrate is clean‚ dry‚ and free of contaminants. Verify that the adhesive is applied correctly with the recommended notch trowel and allowed to reach a tacky stage before placing tiles. Excessive moisture or low temperatures may also affect bond strength‚ so environmental conditions must be controlled during installation.
Fixing Bubbles or Uneven Tile Placement
If bubbles appear‚ gently pierce them with a needle and press the tile firmly to ensure proper adhesion. For uneven placement‚ lift the tile‚ reassess the adhesive‚ and reposition it correctly. Ensure the substrate is level and clean before reapplying the tile. Rolling the tiles after placement can help eliminate air pockets and ensure a uniform bond‚ achieving a smooth and even finish.
Dealing with Substrate Imperfections
Addressing substrate imperfections is crucial for a successful installation. Cracks or unevenness should be repaired with a patching compound or self-leveling product. Ensure the surface is dry‚ clean‚ and free of old adhesives before applying Henry 430. For excessive moisture or alkali‚ use a suitable barrier or consult a professional. Proper substrate preparation ensures a strong bond and prevents future issues with the VCT flooring.
Henry 430 ensures professional VCT installation results when used correctly. Always follow instructions‚ prepare surfaces properly‚ and allow adequate drying time for a durable‚ long-lasting finish. Maintain the floor regularly for optimal performance and appearance.
Summarizing Key Steps for Success
Henry 430 VCT adhesive ensures a successful installation when used correctly. Proper surface preparation is essential‚ including a clean‚ dry‚ and smooth substrate. Apply the adhesive with a fine-notched trowel for even coverage‚ allowing it to reach a tacky stage before placing tiles. Align and secure tiles properly‚ rolling them for optimal adhesion. Follow drying time guidelines and maintain the floor regularly for long-lasting results. Adhere to all instructions for a professional finish.
Best Practices for Future Projects
For future projects using Henry 430 VCT adhesive‚ plan ahead by conditioning the installation area to 65°F (18°C) for 48 hours. Ensure substrates are sound‚ dry‚ and free of moisture. Use the recommended notch trowel for even adhesive application and allow proper drying time before tile placement. Regular maintenance and adherence to manufacturer guidelines will ensure durable and professional-looking VCT floors. Proper preparation and application techniques are key to long-term success.