propel drone instructions
Welcome to the Propel Drone Instructions guide, designed to help you master your drone’s features, ensuring safe and enjoyable flights with advanced functionality.
1.1 Overview of Propel Drones and Their Features
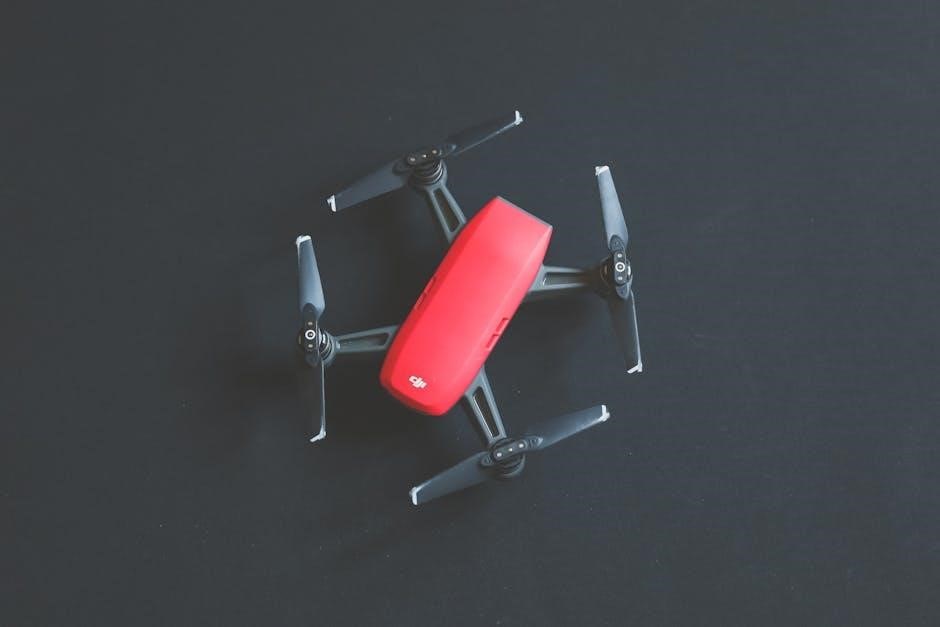
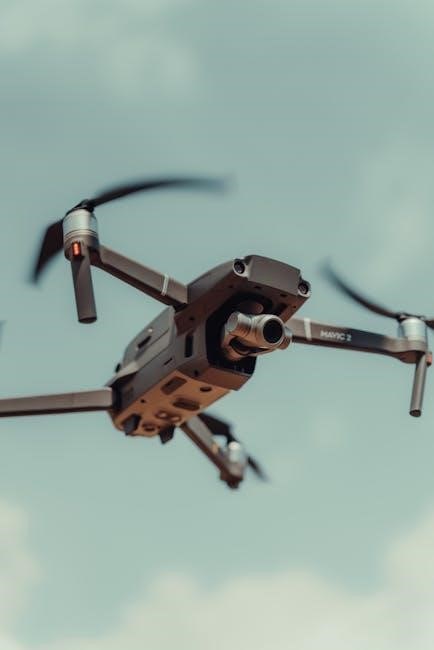
Propel drones are equipped with cutting-edge technology, including altitude stabilization, on-board cameras, and Wi-Fi streaming capabilities. They offer features like 360-degree flips, one-touch takeoff, and live video streaming, making them versatile for both beginners and experienced pilots. These drones are designed for stable flight and easy maneuverability, ensuring high-quality aerial photography and video capture.
1.2 Importance of Following Instructions for Safe Operation
Following the instructions ensures safe and efficient operation of your Propel drone. Proper setup, battery care, and pre-flight checks prevent accidents and damage. Adhering to guidelines helps comply with legal requirements and enhances flight performance. Always refer to the manual for troubleshooting and maintenance tips to maximize your drone’s potential and ensure a secure flying experience.
Pre-Flight Checklist
Ensure a safe and successful flight by inspecting all components, verifying battery levels, and securing propellers. Check for software updates and calibrate the drone as needed before takeoff.
2.1 Unboxing and Inventory of Drone Components
Start by carefully unboxing your Propel drone and inventorying all components, including the drone, controller, propellers, USB charging cable, and any additional accessories. Ensure all items are present and free from damage. Refer to the user manual for a detailed list of included parts and their functions. Verify that no components are missing or damaged before proceeding.
2.2 Understanding the Drone’s Hardware and Accessories
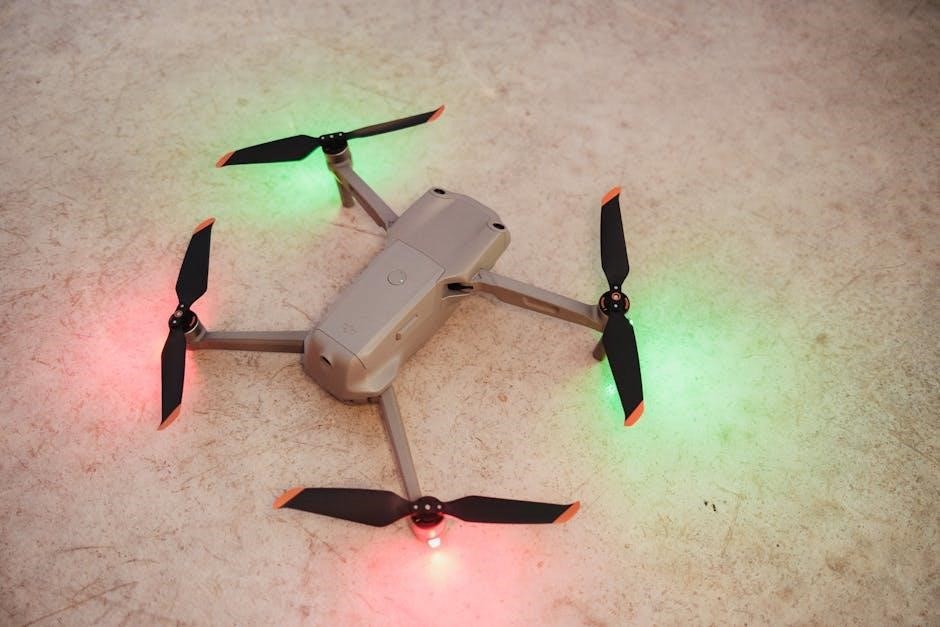
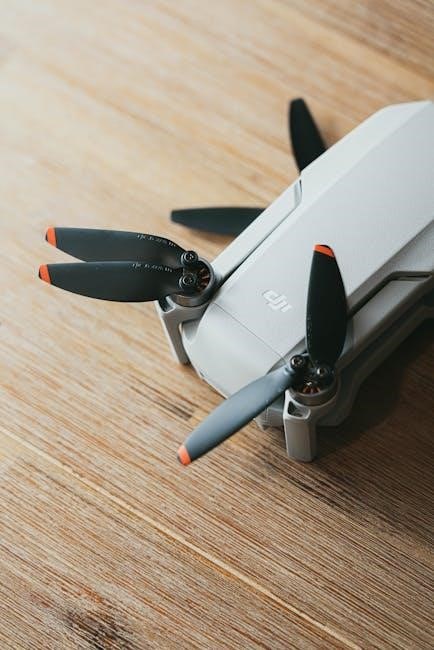
Familiarize yourself with the Propel drone’s hardware, including the quadcopter frame, motors, propellers, and battery. The controller features joysticks for navigation and buttons for advanced functions. Accessories like the USB charging cable and spare propellers are essential for maintenance. Ensure all components are properly identified and understood to ensure safe and efficient operation of your drone.
Setting Up Your Propel Drone
Setting up your Propel drone involves assembling the hardware, pairing the controller, and installing necessary software. Follow the manual’s step-by-step guide for a smooth setup process.
3.1 Step-by-Step Assembly and Hardware Setup
Begin by unboxing and inventorying all components, including the drone, controller, propellers, and charging cables. Attach propellers using the multi-tool provided. Ensure secure connections and proper alignment. Install the battery, checking for any damage. Follow the manual’s visual guides for accurate assembly. Finally, verify all hardware is correctly fitted before proceeding to software installation and controller pairing.
3.2 Installing and Pairing the Controller
Insert fresh AA batteries into the controller, ensuring proper installation as shown in the diagrams. Turn on the controller and drone simultaneously. The LED lights will flash, indicating the syncing process. Press and hold the sync button on both devices until the lights stabilize. Verify pairing by checking controller responsiveness. If issues arise, restart the process or refer to troubleshooting guides.
3.3 Downloading and Installing Required Software
Download the GPS SKY app by scanning the provided QR code or visiting the official website. Install the app on your smartphone or tablet. Launch the app and connect your device to the drone’s Wi-Fi network. Follow in-app instructions to complete setup, enabling features like live video streaming and flight control. Ensure stable internet connection for seamless installation and operation.
Battery Care and Charging
Properly charge your Propel drone’s battery to ensure optimal performance. Avoid overcharging and check for wear regularly to maintain integrity and prevent potential damage during flights.
4.1 Proper Charging Techniques
Ensure your Propel drone’s battery is charged correctly using the provided charger to prevent damage. Avoid overcharging and check the battery’s condition regularly for wear or damage. Always secure the battery firmly in the drone during charging to maintain optimal performance and safety.
- Use the original charger to prevent damage.
- Avoid overcharging to prolong battery life.
- Check for signs of wear or damage before charging.
- Secure the battery properly in the drone during charging.
4.2 Maintaining Battery Health
Regularly inspect your Propel drone’s battery for signs of wear, such as cracks or dents. Store it in a cool, dry place and avoid extreme temperatures to ensure optimal performance and longevity. Calibrate the battery periodically and monitor its voltage levels to prevent degradation and ensure safe operation.
- Inspect for physical damage regularly.
- Store in a cool, dry environment.
- Calibrate periodically for optimal performance.
- Monitor voltage levels to prevent degradation.
4.4 Troubleshooting Battery Issues
Identify battery issues by checking for dimming LED lights or irregular voltage readings. Recalibrate the battery if it fails to hold charge or shows inconsistent performance. Ensure proper connections and avoid overcharging. Replace the battery immediately if physical damage is detected. Consult the user manual for detailed troubleshooting steps to resolve specific battery-related problems effectively.
- Check for dimming LED lights or irregular voltage.
- Recalibrate the battery if charging issues arise.
- Inspect for physical damage or loose connections.
- Replace the battery if it’s damaged or degraded.
Safety Guidelines
Always conduct pre-flight checks, operate in open spaces, and follow local regulations. Be prepared for emergencies and maintain a safe distance from obstacles to ensure responsible flying.
5.1 Pre-Flight Safety Checks
- Inspect the drone for damage or wear, ensuring all components are secure.
- Verify the battery is fully charged and properly installed.
- Check the propellers for balance and correct installation.
- Ensure the flying area is clear of obstacles and people.
- Calibrate the drone and controller before each flight.
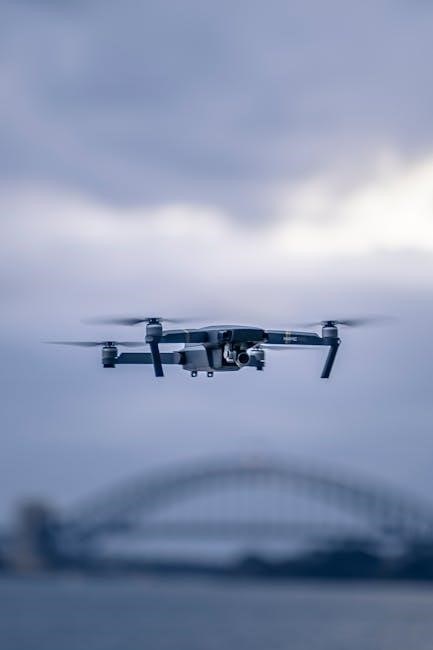
5.2 Operating in Safe Environments
Always fly in open spaces away from obstacles, people, and sensitive infrastructure. Avoid areas with strong winds or poor visibility. Ensure compliance with local regulations and airspace restrictions. Never fly near airports or restricted zones. Maintain a safe distance from bystanders and avoid flying over crowded areas to minimize risks and ensure a secure operation environment.
5.3 Emergency Procedures
In case of an emergency, remain calm and follow proper protocols. Immediately disconnect the battery if the drone malfunctions. Land safely in an open area if possible. Consult the user manual for specific guidance on handling emergencies. Always prioritize safety and avoid risks to people or property. Regular practice and understanding emergency procedures ensure quick, effective responses during critical situations.
Operating the Drone
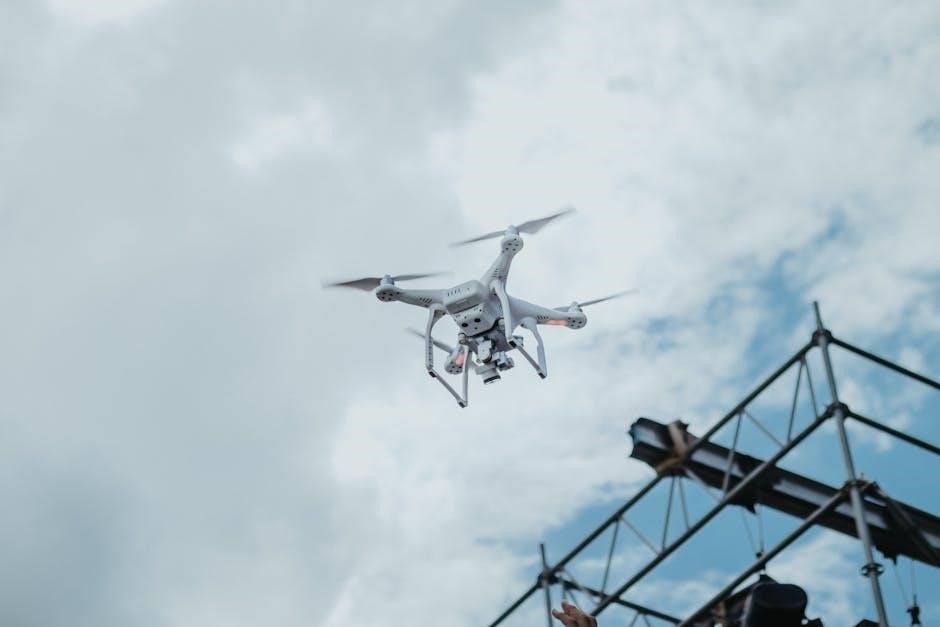
Mastering your Propel drone involves understanding basic flight controls, advanced features, and safety protocols. Start with calm conditions, practice gentle movements, and gradually explore complex maneuvers for a seamless experience.
6.1 Basic Flight Training
Begin with open spaces and calm conditions. Ensure the drone is fully assembled and batteries are charged. Start with gentle throttle inputs to hover, then practice forward, backward, and lateral movements. Use the controller’s joysticks to master yaw and pitch. Avoid obstacles and slowly increase speed as confidence grows. This foundational practice builds essential skills for safe and controlled flight operations.
6.2 Advanced Flight Features
Explore advanced features like altitude hold, one-touch takeoff/landing, and 360-degree flips for dynamic flying. Use the controller’s specialized buttons to activate these modes. Live video streaming enables real-time footage capture, while GPS navigation enhances stability. Practice these features in open areas to master precise control and elevate your flying experience with the Propel drone’s cutting-edge capabilities.
Using Wireless Connectivity
The Propel drone offers seamless wireless connectivity through Wi-Fi, enabling live video streaming and real-time control. Install the GPS SKY app, connect to the drone’s network, and enjoy uninterrupted flying experiences.
7.1 Connecting to Wi-Fi
To connect your Propel drone to Wi-Fi, enable Wi-Fi on your device, locate the drone’s network, and select it. Open the GPS SKY app, follow prompts to link your device to the drone. Ensure stable connection for live streaming and control. If issues arise, restart the drone or check network settings.
7.2 Streaming Live Video
Launch the GPS SKY app, ensure your device is connected to the drone’s Wi-Fi. Tap the video icon to start streaming live footage. Adjust settings for resolution and frame rate. For optimal performance, maintain a stable connection and avoid obstructions. If video lags, restart the drone or reestablish the Wi-Fi link. Ensure your device is fully charged for uninterrupted streaming.
Capturing Photos and Videos
Use the on-board camera to capture stunning HD videos and crisp photos. Ensure the drone is stable for clear shots. Adjust settings for optimal quality and lighting.
8.1 Operating the On-Board Camera
The on-board camera captures high-definition videos and photos. Use the controller or app to start/stop recording. Ensure stable flight for clear shots. Adjust settings like resolution and frame rate via the app. Refer to the manual for step-by-step guidance on camera controls and settings to optimize your aerial photography and videography experience.
8.2 Tips for High-Quality Aerial Footage
For stunning aerial footage, adjust camera settings like resolution and frame rate. Ensure stable flight using altitude hold. Shoot during golden hours for optimal lighting. Plan your shots in advance and use smooth, gradual movements. Avoid fast transitions and maintain a steady distance from subjects. Refer to the manual for additional tips to capture professional-quality video and photos with your Propel drone.
Troubleshooting Common Issues
Identify and resolve common drone issues by checking connections, recalibrating sensors, and ensuring proper battery installation. Consult the manual for detailed troubleshooting steps.
9.1 Identifying and Resolving Technical Problems
Identify issues by monitoring drone behavior and error lights. Check connections and calibrate sensors. For unresolved problems, refer to the manual or contact support. Always prioritize safety and efficiency during troubleshooting to ensure uninterrupted flights and optimal performance.
9.2 Common Issues and Solutions
Drone not turning on? Check battery levels and connections. Syncing issues? Reset and re-pair the controller. Flight instability? Calibrate sensors and ensure propellers are secure. For Wi-Fi problems, restart the drone and reconnect. Refer to the manual for detailed solutions to ensure smooth operation and troubleshooting.
Syncing the Drone and Controller
Syncing ensures seamless communication between your drone and controller, enabling precise flight control. Follow calibration steps for initial pairing and reconnect after any loss of connection.
10.1 Calibration Process
The calibration process ensures your drone and controller are perfectly synchronized. Start by turning on the drone and controller, then follow the manual’s step-by-step guide to complete the calibration. This process typically involves specific button sequences and waiting for confirmation lights. Proper calibration is crucial for stable flight and responsive controls, so attention to detail is key for optimal performance.
10.2 Re-Syncing After Connection Loss
If the connection between your drone and controller is lost, restart both devices. Ensure the battery is properly installed and the drone is placed on a flat surface. Follow the manual’s instructions to re-sync by pressing and holding the sync button on the controller. Verify successful reconnection through the LED indicators or app confirmation. If issues persist, recalibrate the drone.
Maintenance and Repair
Regularly inspect your drone for wear and tear, clean components, and store batteries properly. Use the multi-tool for propeller installation and removal, ensuring optimal performance and safety.
11.1 Regular Maintenance Tips
Inspect your Propel drone for wear and tear, ensuring all components are secure. Clean propellers and the camera lens regularly. Store batteries in a cool, dry place and avoid overcharging. Use the multi-tool for propeller installation and removal. Check for firmware updates and follow the manual’s guidance for optimal performance and longevity of your drone.
11.2 Repairing Damaged Components
For damaged components, inspect and replace parts like propellers or blades to ensure safe operation; Use the multi-tool for secure installation and removal of propellers. Refer to the manual for guidance on diagnosing and fixing issues. Replace worn or broken parts promptly to maintain performance and prevent further damage during flights. Proper repair techniques ensure longevity and reliability of your Propel drone.
Legal and Regulatory Considerations
Understand and comply with local drone laws, ensuring responsible flying practices. Adhere to regulations regarding airspace, privacy, and safety to avoid legal issues while operating your Propel drone.
12.1 Understanding Local Drone Laws
Research and comply with local drone regulations, including no-fly zones, altitude restrictions, and licensing requirements. Ensure awareness of privacy laws and airspace restrictions to operate responsibly and avoid legal issues.
12.2 Flying Responsibly
Always fly responsibly by respecting privacy, avoiding restricted areas, and maintaining safe distances from people and wildlife. Be mindful of environmental impact and follow community guidelines to ensure harmonious coexistence with others. Adhere to best practices for ethical drone usage and promote a positive reputation for drone enthusiasts worldwide.
This guide provides comprehensive insights for mastering your Propel drone, ensuring a smooth and enjoyable experience while prioritizing safety and responsible flying practices always.
13.1 Summarizing Key Takeaways
This guide provides essential insights for safe and effective operation of your Propel drone, emphasizing proper setup, battery care, and advanced features. Always follow safety guidelines, maintain your drone, and consult the manual for troubleshooting. Mastering these practices ensures a rewarding and enjoyable flying experience while capturing stunning aerial footage responsibly;
13.2 Encouraging Safe and Enjoyable Flying
Safe and enjoyable flying begins with adhering to safety guidelines and proper maintenance. Always ensure your Propel drone’s battery is well-maintained and the controller is used correctly. Familiarize yourself with features like altitude stabilization to enhance your experience. Be mindful of your surroundings, fly responsibly, and capture stunning footage to make every flight both exciting and secure.