th6000r1003 installation manual
System Compatibility Check
Verify the thermostat’s compatibility with your HVAC system. The TH6000R1003 supports systems with a heat range of 40-90°F and cooling range of 50-99°F, ensuring proper heating and cooling functionality.
1.1. Identifying Current Wiring Compatibility
To ensure a smooth installation, verify that your existing wiring matches the TH6000R1003 thermostat’s requirements. Check the number of wires and their compatibility with the thermostat’s terminal connections. The thermostat supports systems with up to 2 heat and 2 cool stages. Use 18- to 22-gauge thermostat wire, as specified in the manual. Shielded cable is not required but ensure wires are properly insulated. If your system uses a different wiring configuration, consult the installation manual or a professional to avoid compatibility issues. Additionally, confirm that your HVAC system’s voltage and power requirements align with the thermostat’s specifications. Proper wiring is crucial for safe and efficient operation. Always disconnect power before handling any wiring to prevent electrical hazards. This step ensures the thermostat functions correctly with your heating and cooling system.
1.2. Understanding System Type (Heat/Cool/Off, Auto)
Determine your HVAC system type to configure the TH6000R1003 thermostat correctly. The thermostat supports manual changeover (Heat/Cool/Off) and automatic changeover (Heat/Cool/Auto/Off). For manual mode, set the system to either heat, cool, or off. In automatic mode, the thermostat switches between heating and cooling based on the set temperature. Ensure the thermostat settings match your system’s capabilities to avoid operational issues. If your system requires specific temperature ranges, adjust the settings within the recommended limits: 40-90°F for heating and 50-99°F for cooling. Proper configuration ensures efficient operation and maintains comfort levels. Always refer to the installation manual for detailed instructions on selecting the correct system type. This step is critical for ensuring the thermostat operates seamlessly with your HVAC system.

Installation Process
Begin by turning off power to the HVAC system; Remove the old thermostat and label the wires. Mount the wallplate and connect the wires to the TH6000R1003 thermostat. Ensure proper installation by following the manual’s step-by-step guide to avoid errors.
2.1. Preparing Tools and Materials
Gather all necessary tools and materials before starting the installation. You will need a screwdriver, wire strippers, and a drill with bits for wall mounting. Ensure you have 18-22 gauge thermostat wire, as specified in the manual. A voltage tester is essential to verify power is off before handling wires. Additionally, have the wallplate and mounting screws ready. Shielded cable is not required, but proper wiring connections are crucial for system functionality. Refer to the manual for specific wire color codes and their designated terminals. Organize all components to streamline the installation process and avoid delays. Double-check that all materials match the requirements outlined in the TH6000R1003 installation guide to ensure compatibility and safe installation. Proper preparation ensures a smooth and efficient setup of your new thermostat.
2.2. Mounting the Wallplate
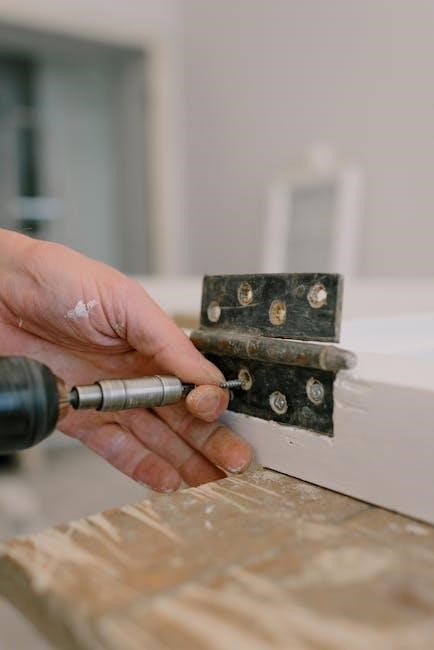
Begin by removing the wallplate from the thermostat and detaching the battery holder. Locate the mounting screws and wall anchors provided in the kit. Carefully mark the wall where the screws will be placed, ensuring the wallplate is level. Drill pilot holes using a 3/16-inch drill bit and insert the wall anchors. Secure the wallplate by tightening the screws firmly into the anchors. Make sure the wallplate is flush against the wall for a proper fit. Once mounted, reinstall the battery holder to prepare for wiring connections. Verify that the wallplate is stable and correctly aligned before proceeding. This step ensures a secure base for the thermostat, allowing for reliable operation. Always disconnect power to the system before starting any installation work to avoid potential hazards. Proper mounting is essential for accurate temperature control and system performance.
2.3. Connecting Wires to the Thermostat
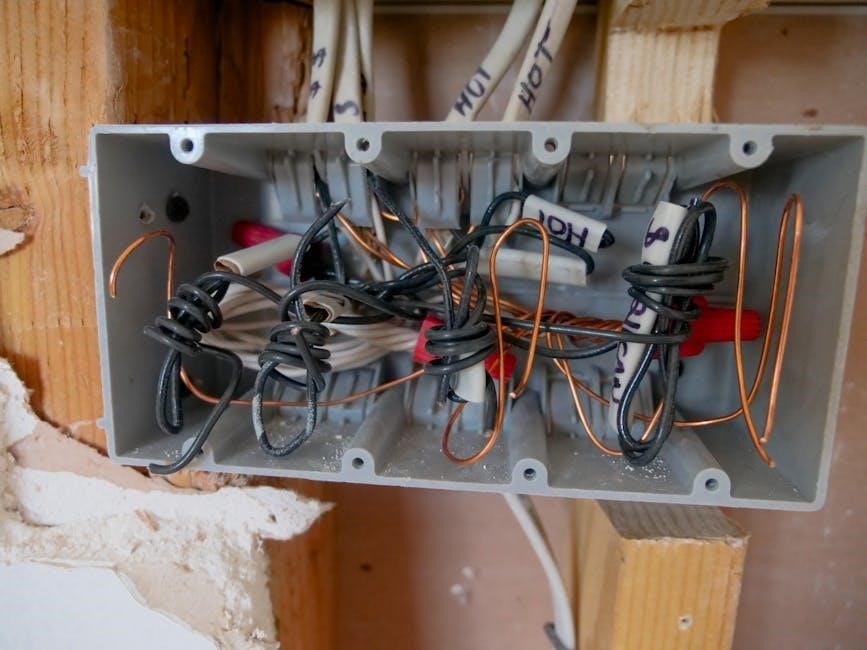
Once the wallplate is securely mounted, proceed to connect the wires to the thermostat terminals. Refer to the wiring diagram in the manual to ensure correct connections. Gently strip the insulation from the ends of each wire using a wire stripper. Insert each wire into the corresponding terminal on the thermostat, ensuring they are seated properly. Use a screwdriver to tighten the terminal screws securely. Double-check the connections to avoid any mismatches, which could lead to system malfunctions. After all wires are connected, verify that the system operates correctly by turning on the heating or cooling function. Proper wiring ensures accurate communication between the thermostat and your HVAC system, enabling precise temperature control and efficient performance. Always follow safety guidelines and disconnect power before handling wires to prevent electrical shocks or damage.
2.4. Finalizing the Installation

After connecting the wires, restore power to the system and test the thermostat by switching between heating, cooling, and off modes. Ensure all functions operate correctly. Check for any error messages on the display and refer to the manual for troubleshooting. Verify that all wires are securely connected and that no terminals are loose. Once confirmed, replace any covers or protective films on the thermostat. Finally, complete the setup by configuring the time, date, and desired temperature settings through the user interface. This step ensures the system is ready for daily use and maintains optimal performance. Always refer to the manual for specific instructions tailored to your system configuration. Proper finalization guarantees reliable operation and energy efficiency.

Configuration and Setup

Configure the thermostat by setting the time, date, and preferred temperature settings. Adjust heating and cooling options to match your system type, ensuring optimal performance and energy efficiency.
3.1. Setting Time and Date
To ensure accurate operation, set the time and date on your thermostat. Access the menu by pressing the appropriate buttons, then navigate to the time and date settings. Select the correct time format (12-hour or 24-hour) and enter the current time. Choose the correct date, including the day, month, and year. Save your settings to complete the process. Accurate time and date are essential for scheduling and system functionality. Refer to the manual for specific button sequences and options. Ensure the time zone is correctly set if applicable. Some models may offer daylight saving adjustments or auto-update features. Double-check your entries before saving to avoid errors. Proper time and date settings are crucial for programming schedules and system tests.
3.2. Configuring Heating and Cooling Options
Configure the heating and cooling options to suit your preferences. Select the system type (Heat/Cool/Off or Auto) based on your HVAC setup. In manual mode, choose between heating, cooling, or off. For automatic operation, the thermostat switches between heating and cooling to maintain the set temperature. Set temperature ranges for both heating (40-90°F) and cooling (50-99°F). Adjust the differential temperature to control how often the system cycles on and off. Enable features like adaptive recovery to optimize performance. Refer to the manual for specific configuration steps. Ensure all settings match your system’s capabilities to avoid operational issues. Proper configuration ensures efficient and reliable temperature control, enhancing comfort and energy savings.
3.3. Programming the Schedule
Program the thermostat to match your daily schedule for optimal comfort and energy efficiency. Set the time and date first to ensure accurate scheduling. Choose between 7-day programming or a 5-2 schedule for different settings on weekdays and weekends. Assign specific temperature levels for morning, daytime, evening, and night periods. Use the hold feature to override the schedule temporarily or activate vacation mode for extended periods. Adjust the temperature differential to prevent frequent system cycling. Save your settings to ensure they remain active. Refer to the manual for detailed steps on navigating the menu and selecting options. Proper scheduling ensures your system operates efficiently, maintaining comfort while reducing energy consumption. Regularly review and update your schedule to adapt to lifestyle changes or seasonal needs. This feature enhances convenience and energy savings.
System Test
Press and hold the s and t buttons to initiate the system test. Use s/t to toggle the system on/off and NEXT to cycle through tests. Press DONE to finish; Check temperature accuracy and system operation during testing to ensure proper functionality and address any issues promptly. This step confirms the thermostat and HVAC system are working together effectively. Verify heating and cooling ranges (40-90°F for heat, 50-99°F for cool) to ensure optimal performance. Review test results to confirm everything operates as expected. Adjust settings if necessary for accurate system behavior. This final test ensures reliable operation and energy efficiency.
4.1. Running the System Test
To run the system test, press and hold the s and t buttons until the display changes. This initiates the test mode. Use the s/t button to toggle the system on or off, and press NEXT to cycle through different test modes. The thermostat will test heating, cooling, and fan operations. Ensure the temperature ranges are within specifications (40-90°F for heat and 50-99°F for cool). Verify that the system responds correctly to each test phase. If any issues arise, such as a failure to activate heating or cooling, check the wiring connections and system configuration. Press DONE to exit the test. This process ensures the thermostat and HVAC system are functioning properly together. Address any identified issues before proceeding to regular operation. Proper testing guarantees reliable performance and energy efficiency.
4.2. Interpreting Test Results
After running the system test, review the results to ensure all components are functioning correctly. Check if heating, cooling, and fan modes activated properly and within the specified temperature ranges. Verify that the thermostat accurately displays the system status. If the system fails to activate or operates outside the expected ranges, consult the installation manual for troubleshooting steps. Ensure wiring connections are secure and configured correctly. Address any issues promptly to prevent operational failures. Proper interpretation of test results ensures the system operates efficiently and maintains the desired comfort levels. Use this step to validate the installation and configuration before finalizing the setup. A successful test confirms the system’s readiness for everyday use. Always refer to the manual for detailed guidance on resolving any identified issues.