devi khadgamala telugu pdf
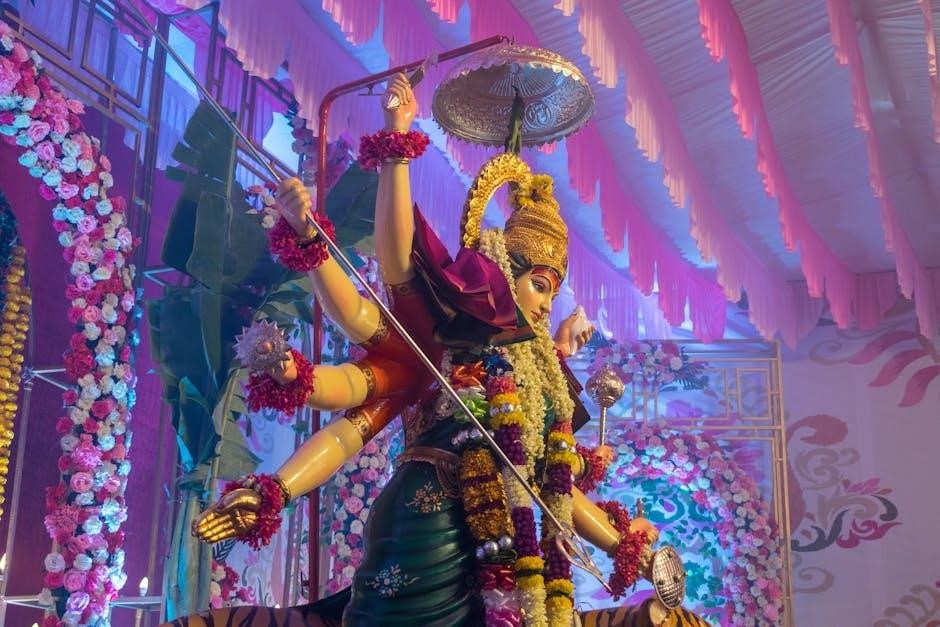
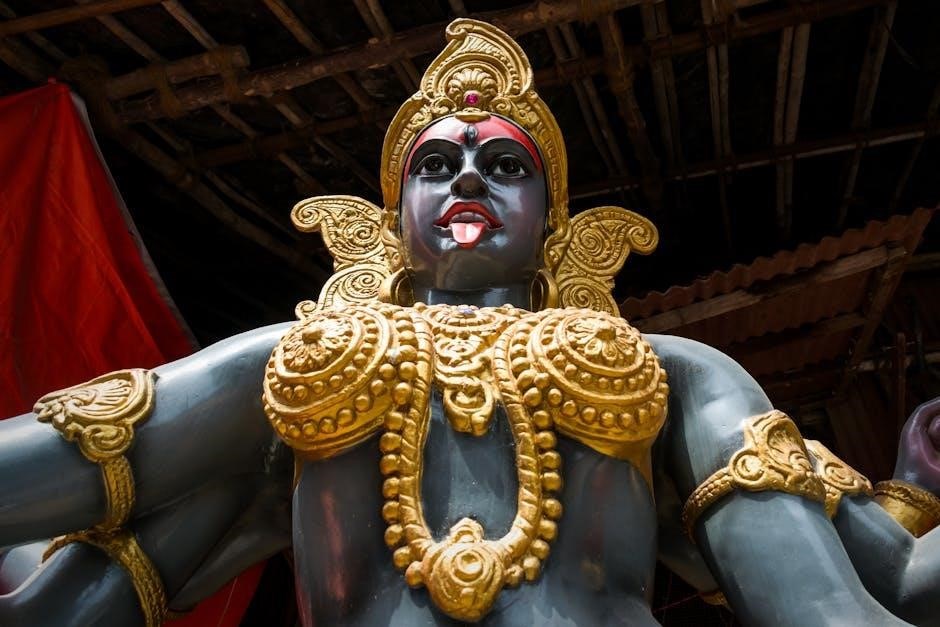
Devi Khadgamala is a sacred hymn dedicated to Goddess Shakti, symbolizing her divine strength. It represents a garland of swords, embodying the power to cut through negativity and ignorance, while its 32 names reflect energies within the Shri Chakra. Widely recited for protection and spiritual growth, it’s especially revered in South India, with Telugu PDF versions offering meanings for deeper worship.
1.1 What is Devi Khadgamala?
Devi Khadgamala is a sacred hymn dedicated to Goddess Shakti, symbolizing her divine strength. It represents a garland of swords, embodying the power to cut through negativity and ignorance, while its 32 names reflect energies within the Shri Chakra. Widely recited for protection and spiritual growth, it’s especially revered in South India, with Telugu PDF versions offering meanings for deeper worship.
1.2 Importance of the Khadgamala Stotram
The Khadgamala Stotram is a powerful mantra that embodies Goddess Shakti’s divine energy, offering protection, spiritual growth, and inner peace. It is revered for its ability to ward off negative forces and bring balance to life. Reciting it is believed to grant blessings, strength, and clarity, making it a significant practice in Shakti worship. Its importance lies in its deep spiritual significance and transformative power for devotees seeking divine grace and harmony.

Historical and Spiritual Background
The Khadgamala Stotram originates from ancient Hindu scriptures, deeply rooted in Shri Chakra worship. It symbolizes Goddess Shakti’s divine power, used in rituals and meditation for spiritual harmony and inner peace.
2.1 Origins of the Khadgamala Stotram
The Khadgamala Stotram traces its roots to ancient Hindu scriptures, emerging as a key component of Shri Chakra worship. It is believed to have originated from the sacred texts of Shakta tradition, emphasizing the divine feminine. The stotram is a garland of 32 names, each representing an aspect of Goddess Shakti, symbolizing her power to protect and liberate. Its origins are deeply intertwined with rituals and meditation practices, aiming to invoke her blessings and inner peace.
2.2 Connection to Shri Chakra and Shakti Worship
The Khadgamala Stotram is deeply linked to Shri Chakra, a geometric symbol of the universe and Goddess Shakti’s divine energy. Each name in the stotram corresponds to a deity within the chakra, representing her various manifestations. This connection underscores its role in Shakti worship, where devotees use it to meditate on her cosmic form and seek spiritual alignment with her transcendent power.

Structure and Composition
The Khadgamala Stotram consists of 32 names of Goddess Devi, each linked to her divine aspects and energies. The Telugu PDF versions include detailed meanings, enhancing devotion and understanding of her cosmic role in Shri Chakra worship.
3.1 Names and Aspects of Goddess Devi in the Stotram
The Khadgamala Stotram enumerates 32 powerful names of Goddess Devi, each representing her divine attributes and energies. These names symbolize her strength, compassion, and cosmic roles, offering devotees a deeper connection to her essence. The Telugu PDF versions provide detailed explanations of these names, enabling followers to understand their spiritual significance and integrate them into worship and meditation practices for inner transformation and divine grace.
3.2 The Significance of the “Sword” in Khadgamala
The “sword” in Khadgamala symbolizes divine power and the destruction of negativity. It represents Goddess Devi’s ability to cut through ignorance and adversity, embodying her protective and transformative grace. Each name in the stotram is likened to a sword, reinforcing its role as a powerful tool for spiritual cleansing and empowerment. Telugu PDF versions elaborate on this symbolism, highlighting its profound spiritual and metaphorical significance for devotees seeking enlightenment and protection.
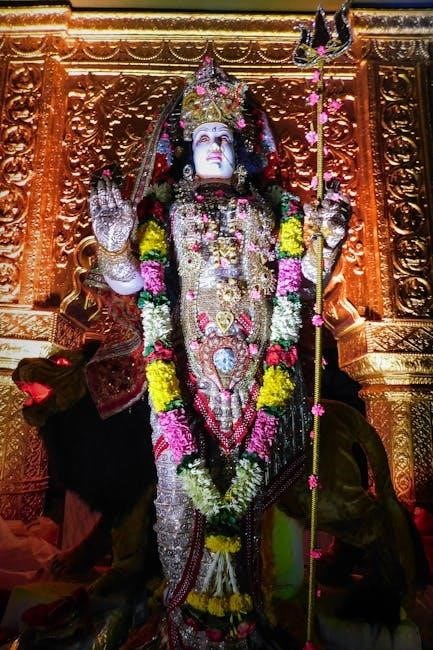
Spiritual Significance and Benefits
Devi Khadgamala Stotram is a powerful hymn offering divine blessings and protection from Goddess Devi. It aids in spiritual growth, fostering inner peace and strength, while its recitation helps destroy negativity and ignorance, guiding devotees toward enlightenment and harmony.
4.1 Blessings and Protection from Goddess Devi
Devi Khadgamala Stotram serves as a protective shield, offering divine blessings and safeguarding devotees from negativity. By invoking Goddess Devi’s power, it dispels fears, misfortunes, and obstacles, fostering a sense of security and peace. The hymn’s recitation is believed to attract positive energies, ensuring overall well-being and prosperity, while its connection to the Shri Chakra amplifies its potency in granting spiritual and material protection.
4.2 Spiritual Growth and Inner Peace
Reciting Devi Khadgamala Stotram fosters profound spiritual growth by aligning one with the divine feminine energy. It cultivates inner peace, clarity, and emotional balance, helping devotees transcend worldly attachments. The hymn’s rhythmic vibrations and sacred syllables deepen meditation, facilitating a connection with Goddess Devi’s nurturing essence. Regular recitation is believed to enlighten the soul, promoting self-realization and harmony in life.
Devi Khadgamala in Telugu
Devi Khadgamala in Telugu is a sacred hymn available as PDF, offering devotees accessible worship material. It provides meaningful translations, enabling deeper spiritual connection and divine protection through Goddess Shakti’s blessings.
5.1 Availability of Telugu PDF Versions
Telugu PDF versions of Devi Khadgamala are widely available online, offering easy access to the sacred hymn. Platforms like Vaidika Vignanam and Stotranidhi provide free downloads, ensuring devotees can recite and meditate effortlessly. These PDFs often include the original text, transliteration, and meanings, making them ideal for both beginners and advanced practitioners. Reliable sources ensure authenticity, preserving the spiritual essence of the stotram for all seekers.
5.2 Translation and Meaning for Devotees
The Telugu PDF versions of Devi Khadgamala include detailed translations and meanings, making the stotram accessible to all devotees. Each verse is accompanied by explanations, revealing the spiritual significance of Goddess Shakti’s names and attributes. This enables followers to deeply understand the hymn’s essence, facilitating meaningful recitation and meditation. The translations bridge language barriers, ensuring the divine message of protection and blessings reaches every seeker.
How to Recite the Khadgamala Stotram
Recitation of the Khadgamala Stotram requires proper rituals and mantras. Devotees should chant it with focus, ideally in the early morning or evening, in a clean, calm space, after bathing and preparing mentally.
6.1 Proper Rituals and Mantras
Reciting the Khadgamala Stotram requires adherence to specific rituals. Begin with purification, lighting a lamp, and offering flowers to Goddess Devi. Chant the stotram with a clear voice, maintaining focus. Use a rudraksha or crystal mala for counting if needed. Conclude with offerings and pranama, seeking divine blessings. Proper pronunciation and intent are crucial for maximizing its spiritual benefits and protection.
6.2 Best Time and Place for Recitation
The ideal time to recite the Khadgamala Stotram is during Brahma Muhurta (early morning) or Sandhya time (dusk), when divine energy is most potent. Choose a clean, calm place, preferably near a Shri Chakra or temple. Sit comfortably with focus, ensuring minimal distractions. Recitation in a sacred environment amplifies spiritual benefits, fostering inner peace and divine connection with Goddess Devi.

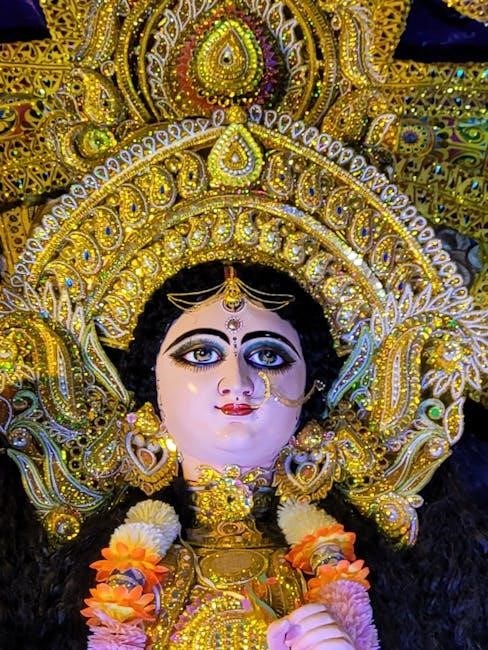
Role in Shakti Worship and Rituals
The Khadgamala Stotram is central to Shakti worship, used in pujas and meditation. Its recitation invokes Goddess Devi’s blessings, aligning with Navavarana rituals and Shri Chakra worship.
7.1 Use in Puja and Meditation
The Devi Khadgamala Stotram is integral to Shakti worship, often recited during pujas and meditation. It invites Goddess Devi’s presence, offering protection and blessings. The Telugu PDF versions provide devotees with accessible scripts for rituals, enhancing their spiritual practices and connection to the divine feminine energy.
7.2 Connection to Navavarana and Yantra
The Khadgamala Stotram deeply connects with Navavarana (nine-layered worship) and Shri Chakra Yantra. Each verse corresponds to a layer of the yantra, symbolizing the goddess’s multifaceted energies. The Telugu PDF versions elaborate on these connections, aiding devotees in visualizing the yantra during meditation, thus enhancing their worship experience and spiritual alignment with the divine feminine essence.
Comparison with Other Devi Stotras
Devi Khadgamala Stotram uniquely focuses on the divine sword, symbolizing Goddess Shakti’s power to cut negativity. Unlike other stotras, it combines meditation and worship, emphasizing the sword’s spiritual significance in Shri Chakra worship.
8.1 Similarities and Differences
Devi Khadgamala shares similarities with other Shakti stotras in its devotion to Goddess Shakti, but it uniquely emphasizes the sword as a symbol of divine power. Unlike stotras like Lakshmi or Durga, it focuses on the Shri Chakra’s energies and the sword’s role in cutting negativity. While other stotras highlight specific traits, Khadgamala combines meditation and worship, making it distinct yet complementary to other devotional hymns in Shakti tradition.
8.2 Unique Aspects of Khadgamala
Devi Khadgamala uniquely combines meditation and worship, focusing on the sword as a symbol of divine power. Its structure as a “garland of swords” represents cutting through negativity. Each name in the stotram corresponds to energies in the Shri Chakra, offering deep spiritual insight. Unlike other stotras, it blends protection and inner growth, making it a distinctive tool for Shakti worship; Its availability in Telugu PDF with meanings enhances accessibility for devotees.

Cultural and Religious Impact
Devi Khadgamala holds significant cultural and religious importance, especially in South India, where it is revered as a powerful tool for worship and spiritual growth, influencing daily rituals and community practices.
9;1 Popularity in South India
Devi Khadgamala is deeply revered in South India, particularly in Telugu-speaking regions, where its sacred hymns are integral to daily rituals and festivals. Its availability in Telugu PDFs has enhanced accessibility, making it a cornerstone of devotional practices. The stotram’s connection to Shri Chakra and Navavarana rituals further elevates its significance, fostering a cultural and spiritual identity among devotees, who chant it for blessings, protection, and inner harmony.
9.2 Influence on Devotional Practices
Devi Khadgamala has profoundly shaped devotional practices, particularly in South India. Its inclusion in pujas, meditation, and Navavarana rituals highlights its sacred significance. The stotram’s availability in Telugu PDFs has made it accessible to a broader audience, fostering deeper spiritual engagement. It serves as a powerful tool for meditation and worship, inspiring devotees to connect with Goddess Shakti’s divine energy, thereby enriching their spiritual journeys and daily devotional routines.
Downloading the Telugu PDF
Reliable platforms like Vaidika Vignanam and Stotranidhi offer free downloads of the Devi Khadgamala Stotram in Telugu PDF format. Simply search online for “Sri Devi Khadgamala Stotram Telugu PDF” to access authentic versions.
10.1 Reliable Sources for Download
Reliable sources for downloading the Devi Khadgamala Telugu PDF include websites like Vaidika Vignanam, Stotranidhi, and Sri Vaishnavam. These platforms offer authentic and free downloads. Ensure to verify the source’s credibility by checking for comprehensive content and proper formatting. Avoid unofficial sites to maintain the sanctity of the text. Use specific search terms like “Sri Devi Khadgamala Stotram Telugu PDF” for accurate results. Always opt for trusted repositories to download the PDF.
10.2 Tips for Finding Authentic Versions
To find authentic Devi Khadgamala Telugu PDF, use reputable websites like Vaidika Vignanam or Stotranidhi. Ensure the PDF includes proper formatting, correct Sanskrit-to-Telugu translations, and comprehensive meanings. Verify the publisher’s credibility and check for user reviews. Download from platforms that specialize in spiritual texts to avoid corrupted files. Use specific search terms like “Sri Devi Khadgamala Stotram Telugu PDF” for accurate results. Always prefer well-known sources for authenticity.
The Devi Khadgamala Telugu PDF is a potent tool for worship, offering protection and spiritual growth. Its availability in Telugu with meanings makes it accessible for devotees to connect deeply with Goddess Shakti. Embrace this sacred hymn to experience divine grace and inner peace.
11.1 Final Thoughts on the Significance of Devi Khadgamala
Devi Khadgamala is a sacred hymn embodying Goddess Shakti’s divine strength. Its structure, with 32 names linked to the Shri Chakra, symbolizes her multifaceted power. The Telugu PDF versions provide devotees with accessible meanings, fostering a deeper connection to her essence. This stotram is not only a tool for spiritual growth but also a cultural treasure, reflecting the rich heritage of Shakti worship and its enduring impact on devotees’ lives.
11.2 Encouragement to Explore and Chant
Exploring and chanting the Devi Khadgamala Stotram is a profound way to connect with Goddess Shakti’s divine energy. With Telugu PDF versions readily available, devotees can easily access its meaning and significance. Chanting this powerful hymn fosters spiritual growth, inner peace, and protection. Embrace this sacred practice to experience its transformative power and seek blessings from the divine mother, enriching your spiritual journey with her grace and wisdom.